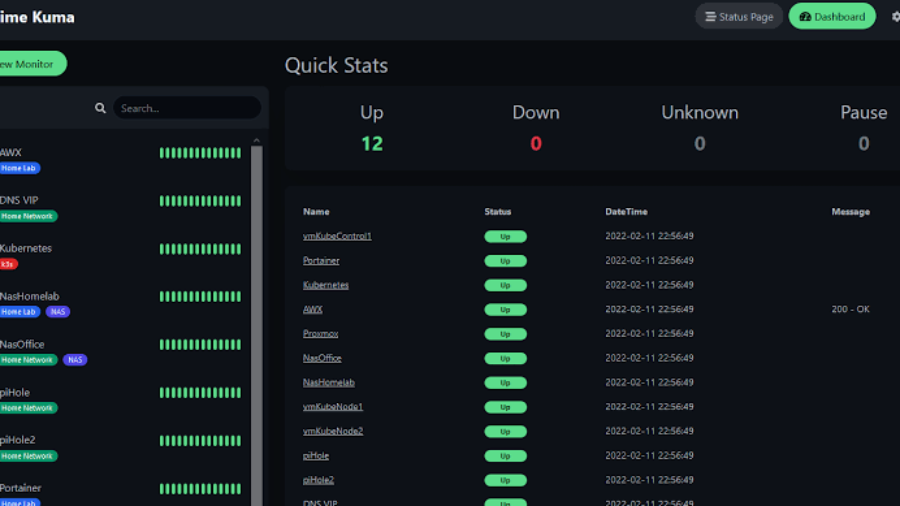
UptimeKuma is an open-source, self-hosted service that provides website and server monitoring. Here are the general steps to install and configure UptimeKuma on a Linux server:
- Install the necessary dependencies: UptimeKuma requires Node.js, npm, and MongoDB to be installed on the server. Install them using the package manager of your Linux distribution.
- Download and extract the UptimeKuma source code: Download the latest release of UptimeKuma from the official GitHub repository and extract the files to a directory on your server.
- Install the Node.js dependencies: Navigate to the UptimeKuma directory and install the required Node.js dependencies by running the following command:
npm install - Configure UptimeKuma: Copy the sample configuration file
config.sample.jstoconfig.jsand edit it to suit your needs. The most important configuration options are the MongoDB connection settings and the email notification settings. - Start UptimeKuma: Run the command
npm startto start the UptimeKuma service. By default, it will listen on port 3000. - Set up a reverse proxy: If you want to access UptimeKuma from the internet, it is recommended to set up a reverse proxy with SSL termination. You can use a web server such as Nginx or Apache to achieve this.
- Create an admin user: To access the UptimeKuma web interface, you need to create an admin user. Run the command
npm run add-adminand follow the prompts to create an admin user account.
Once you have completed these steps, you can access the UptimeKuma web interface by navigating to the URL of your server, followed by the port number (e.g. http://example.com:3000). From there, you can add website and server monitors, view status reports, and configure notification settings.
